 Add Row
  Add
Add 


The Art and Craft of Reproducing Crown Molding
Crown molding is a striking architectural element that can dramatically enhance the aesthetics of your home. Often found in historic properties, this elegant trim has a rich heritage that speaks volumes about craftsmanship and detail. Understanding how to replicate historic crown molding using common tools not only connects you to tradition but also brings a personal touch to your living space.
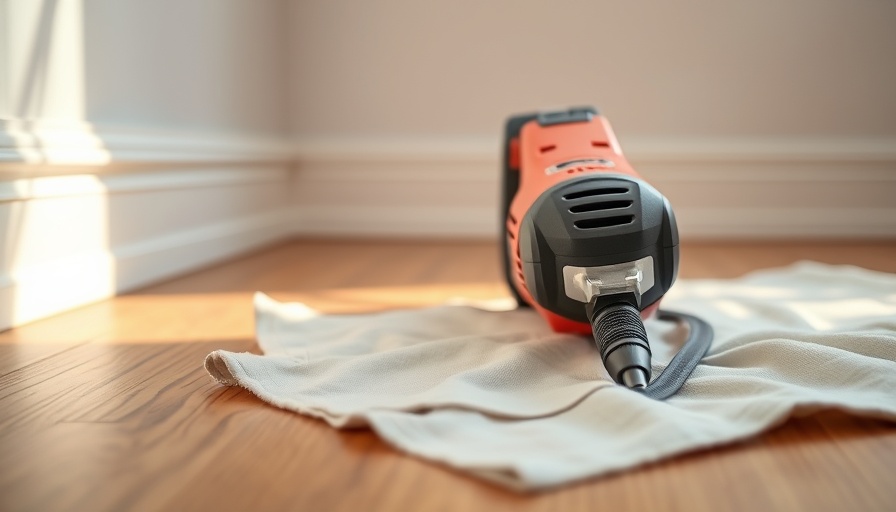
Tools You’ll Need to Get Started
You don’t need professional-grade equipment or complicated machinery to create stunning crown molding. Here are the basic tools that can help any DIY enthusiast get started:
- Miter Saw: Essential for making precise cuts at different angles, which is crucial for achieving clean corners.
- Router: Handy for adding decorative edges, it allows for custom designs to match historic profiles.
- Nail Gun: Speeds up the process of securing your molding to the wall, giving a professional finish.
- Level and Stud Finder: Ensures that your installation is straight and secure, safeguarding the longevity of your work.
Understanding Historical Context
The detailed designs of crown moldings from previous centuries often reflect the art movements of their times. For example, Victorian crown moldings feature intricate patterns and curves that evoke a sense of grandeur. By understanding the styles that preceded your home, you can better replicate their essence.
Why Historical Replication Matters
By choosing to replicate historic crown molding, homeowners honor their property’s history. This practice not only uplifts the aesthetic value of their home but can also enhance its market appeal—making it a wise investment for the future. In an era where contemporary design often neglects classical elements, going against the grain can create a unique blend of old and new.
Crafting Your Own Crown Molding: A Step-by-Step Guide
Creating crown molding can seem daunting, but breaking it down into manageable steps makes the process approachable:
- Measure Your Space: Accurate measurements are key. Start by measuring the walls where you plan to install the crown molding.
- Select Your Design: Choose a design that reflects both your style and matches your home’s architecture.
- Cut the Molding: Use your miter saw to make precise cuts, paying special attention to the corners.
- Fit and Adjust: Before securing any pieces, place them against the wall to ensure they fit properly. Make adjustments if necessary.
- Attach the Molding: Secure the pieces in place with your nail gun, ensuring they are level and flush against the wall.
- Finish and Paint: Once everything is installed, caulk any gaps and apply paint or finish to match your choice.
Common Myths Debunked
There are many misconceptions surrounding crown molding installation. One prevalent myth is that it requires expert skills. In reality, with the right tools and a bit of practice, anyone can achieve remarkable results. Another misconception is the belief that historical reproduction is too costly. When using common tools and materials available at home improvement stores, the costs can be surprisingly manageable.
Take the Next Step in Your Home Renovation
Reproducing historic crown molding can be a rewarding project that adds character and value to your home. Whether you’re experimenting on your own or planning a community workshop, there is no better time than now to embrace DIY culture.
Ready to start your crown molding project? Explore local home improvement workshops or connect with DIY communities online to share tips and get inspired!


Write A Comment