 Add Row
  Add
Add 


Transform Your Space: A Beginner's Guide to Installing Baseboards
Installing baseboards can seem daunting to many new homeowners, but it’s a project that, when done correctly, can dramatically elevate the look of any room. With the right tools, materials, and steps to follow, even the most novice DIYers can take on this rewarding task. Here’s how to install baseboards the right way while enhancing your DIY skills.
Understanding the Importance of Baseboards
Baseboards are more than just decorative borders; they play a crucial role in protecting your walls from impacts and moisture, while also providing a polished look to your interiors. As Lily Thompson explains, properly installed baseboards can enhance the room's aesthetic and contribute to the value of your home. They help to create an elegant transition between the floor and the wall, offering not just functionality but also an opportunity for personal expression in home design.
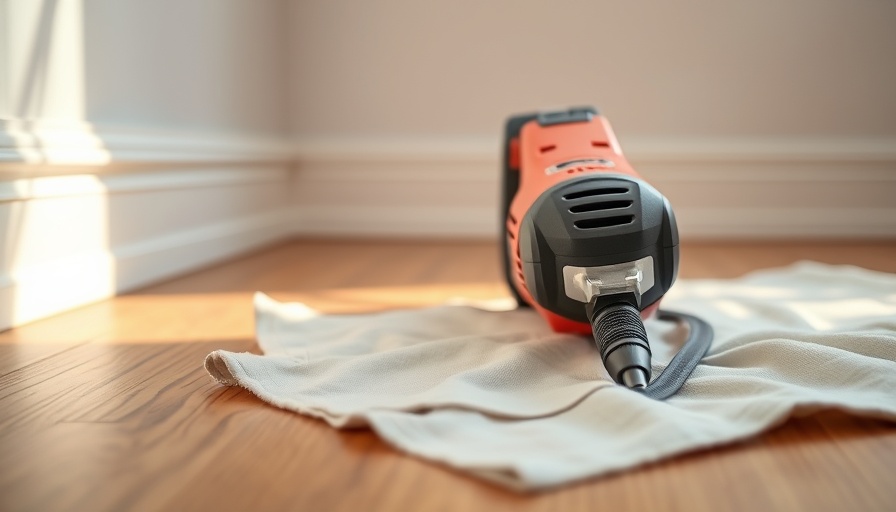
Essential Tools and Materials You’ll Need
To tackle this project, you’ll need several essential tools and materials. Most importantly, an 18-gauge brad nailer, a miter saw, a caulk gun, and paint supplies will make the installation smoother and more professional-looking. Make sure to gather:
- 18-gauge brad nails
- Baseboard materials
- Wood filler
- Fine-grit sandpaper
- Paint and primer
- Clean, dry rags
Investing in good-quality tools not only ensures a better finish but can also save time and frustration during installation.
Planning Your Installation: Measuring and Cutting
The first step is to measure your walls to determine how much baseboard you’ll need. It’s always wise to buy about 10% more material to account for mistakes. Create a detailed cut list indicating the length of each piece and the type of cuts required—this can significantly enhance your efficiency. Starting at a doorway and working your way around the room typically yields the best results.
As you make your cuts, don’t forget to apply painter's tape around corners and seams to ensure clean edges later on.
Seamless Integration: The Art of Jointing
For a seamless appearance, learning how to camouflage seams is essential. Instead of butting the pieces together, consider using a 45-degree angle for better alignment. This technique hides joints more effectively and makes the installation appear more polished. While this may sound technical, taking your time and measuring carefully can alleviate many common installation headaches.
Caulking and Finishing Touches
Once your baseboards are in place, it’s time for the finishing touches. Caulking along the top and bottom of the baseboards smooths out any gaps and adds a professional-looking finish. Use paintable caulk for the best blend with your fresh paint job, ensuring to fill any gaps that might let dust or moisture in.
Finally, touching up paint, filling any holes from nails, and standing back to admire your work are crucial steps that will finalize your project.
Beyond Aesthetics: The Benefits of DIY Baseboard Installation
Installing baseboards on your own not only enhances your home’s visual appeal but can also lead to significant cost savings. Hiring professionals for such jobs can be expensive, and the knowledge gained from handling this project yourself empowers you for future home improvement tasks. As you embark on this DIY journey, remember that every cut and installation strengthens your confidence and skill set.
Conclusion: Transforming Your Space Awaits
With these steps in mind, you’re well-equipped to take on the challenge of baseboard installation. Dive into this project and experience firsthand the satisfaction of transforming your space. For more tips on home improvement and to discover innovative ways to enhance your living environment, remember to explore additional resources and consider connecting with local contractors who can provide extra expertise when needed.


Write A Comment