Transform Your Home: A Guide to Installing Baseboards
If you're looking to elevate your living space, installing baseboards can make a significant impact. This DIY project is not only rewarding but also budget-friendly, allowing you to put your personal touch on your home decor. Let's delve into the steps for a successful baseboard installation, perfect for even the most novice DIY enthusiasts.
The Benefits of Installing Baseboards Yourself
Taking on the task of installing baseboards yourself offers several advantages. Firstly, you'll save money by avoiding labor costs, which can range from hundreds to thousands of dollars depending on the size of your home. Secondly, the process empowers you with new skills. As you measure, cut, and fit the baseboards, you'll gain confidence in your abilities and a sense of accomplishment upon completion. Finally, your personalized touch can enhance your home's aesthetic and increase its overall value.
Essential Tools and Materials for the Job
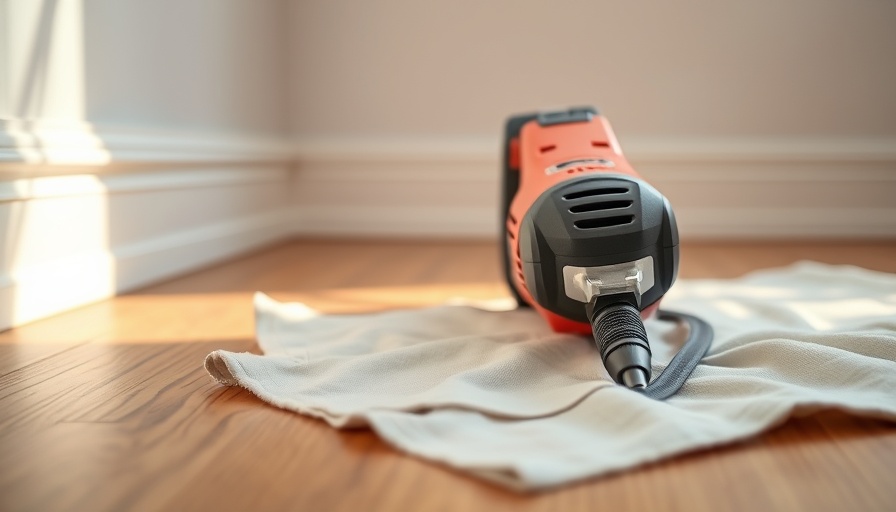
To ensure your baseboard installation goes smoothly, gather the following tools and materials:
- 18-gauge brad nailer
- Caulk gun
- Hammer
- Measuring tape
- Miter saw
- Nail set
- Paint scraper
- Utility knife
- Baseboard materials (plus 10% extra for errors)
- Paint and supplies (primers and caulk have been shown to increase durability)
Preparation: The Key to Successful Installation
Before diving into cutting and installing, preparation is crucial. Paint the baseboards before installation; this saves a lot of time and hassle when it comes to touch-ups. By using primer and a high-quality enamel paint instead of traditional paint, you'll achieve a smoother finish free from brush marks. Start by measuring the linear feet of walls, and don’t forget that it’s wise to overestimate by about 10% to account for mistakes.
Strategizing Your Cuts Like a Pro
Creating a detailed cut list can simplify the installation process significantly. Note the length, type of cut, and angles needed for each section, starting at a doorway and proceeding around the room. This method reduces confusion and waste. For angles, aim for 45-degree cuts when joining pieces to create less noticeable seams.
Future Trends in DIY Home Improvement
As homeowners increasingly opt for DIY home improvement projects instead of hiring professionals, the trend reflects a broader movement toward self-sufficiency. Online platforms offer vast resources, tutorials, and community support, making home improvement more accessible. In the future, we may see a rise in smart home integrations that help guide homeowners through projects, enhancing the DIY experience.
Local vs. Global Perspectives on DIY
Across various cultures, the approach to DIY home improvement varies. For instance, in Scandinavian countries, minimalism and functional designs influence the DIY aesthetic, favoring a clean and modern look. Meanwhile, communities in the U.S. often emphasize personalized and unique builds, driven by a desire for individual expression in home decor. Understanding these perspectives can enrich your DIY project choices and inspire your designs.
Actionable Insights for a Successful Installation
To maximize your chances of success during the installation process, follow these tips:
- Measure twice, cut once—you've probably heard this before, but accuracy is key.
- Secure baseboards with a nailer or a hammer and nails, ensuring they initially fit well before finalizing attachment with caulk and paint.
- If you encounter corners or curves in the wall, consider using corner blocks to ease your installation.
Incorporating baseboards is a detail that makes a big difference in your overall home design. Don’t hesitate—take the plunge into this rewarding DIY venture!
Conclusion: Let’s Get Started!
Installing baseboards is an achievable project that enhances your home’s aesthetic and marketability. Armed with this guide, it’s time to roll up your sleeves and transform your space. So gather your materials, prepare your tools, and start bringing your home improvement vision to life!
 Add Row
  Add
Add 


Write A Comment