 Add Row
  Add
Add 

Transform Your Kitchen: Cutting a Butcher Block Countertop
Butcher block countertops have become a staple in modern kitchens, appreciated for their natural beauty and functionality. Whether you are starting a kitchen remodel or simply replacing existing surfaces, learning how to cut butcher block countertops empowers you to manage the project yourself. This guide will walk you through the essentials of measuring, cutting, and finishing butcher block countertops, ensuring you achieve professional results without the stress of hiring a contractor.
Measure Twice, Cut Once: The Importance of Precision
As the age-old adage goes, "measure twice, cut once." This wisdom rings particularly true when working with butcher block, which can be quite an investment. To prevent the costly mistake of cutting your slab too short, it's essential to take accurate measurements for your desired countertop length. Many premade butcher blocks arrive in standard widths, making length the primary consideration for your project. If planning multiple cuts, creating a cardboard template can facilitate precision, allowing you to trace your design directly onto the wood for reference.
Types of Cuts: Choosing the Right Method
Understanding the types of cuts is crucial for successful installation. There are three primary methods to consider:
- Crosscut: This cut is made across the wood grain and is essential for trimming the block to fit in your kitchen.
- Rip Cut: This involves cutting along the wood grain and may be necessary for adjusting the width of the block.
- Miter Cut: Ideal for corner joints, it's crucial to align your saw accurately to ensure a tight fit between adjoining pieces.
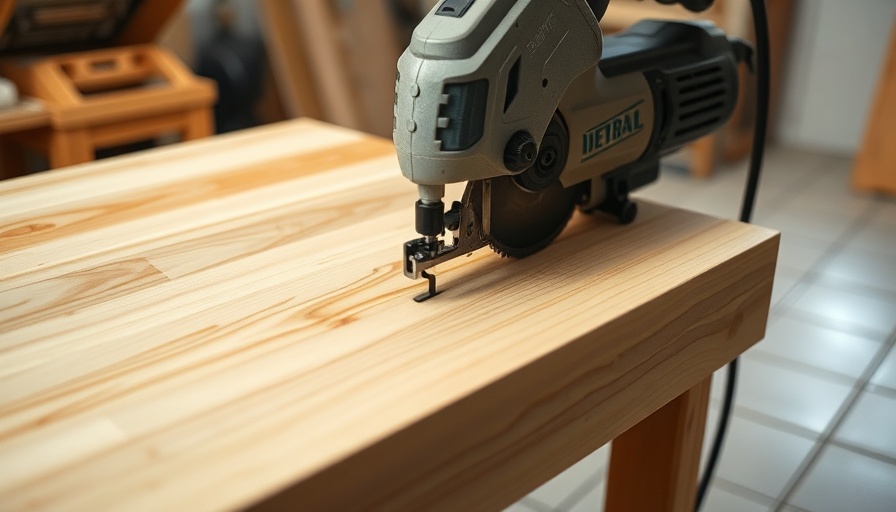
The reference articles suggest using tools like a circular saw or table saw for clean cuts, while keeping safety at the forefront.
Safety First: Protect Yourself While Cutting
Before diving into the project, gather necessary safety equipment, including goggles, gloves, and ear protection. The right preparations can protect you from potential accidents. Additionally, maintaining a sharp blade will facilitate smoother cuts, reducing the risk of mishaps.
Support and Stability: Avoiding Mishaps
Butcher block is heavy, which adds to the importance of a stable work environment. Lay the countertop on a solid workbench or create a temporary support using two by fours. Ensuring the slab is supported during cutting prevents it from falling and possibly damaging both the countertop and your work area.
Finishing Touches: Sealing the Deal
After cutting, sanding is crucial for a smooth surface. Begin with a lower grit and work to a finer finish. Applying a protective sealant or food-safe finish will not only enhance the wood’s appearance but also safeguard it against moisture and staining. This step is essential for maintaining the longevity of your butcher block.
Anticipate Overhang: Making Design Decisions
Consider how the countertop will interact with other elements in your kitchen. If installing an L-shaped countertop, think about using a butt joint for a seamless look, especially near fixtures like sinks or stoves. While a miter joint can create a clean angle, it often comes with additional complexities and costs.
The Unique Value of DIY Projects
Cutting and installing your butcher block countertop yourself not only can save you a substantial amount of money but also allows for customization that fits your aesthetic perfectly. With the rise of DIY home renovation projects, many homeowners find immense satisfaction and a sense of accomplishment in undertaking such tasks themselves. Knowing how to cut butcher block countertops empowers you to personalize your space.
Conclusion: Take Action on Your Kitchen Goals
With the right tools, preparation, and mindset, cutting a butcher block countertop is an achievable DIY endeavor. For those ready to elevate their kitchen, consider diving into this project that blends craftsmanship with personal flair. Join your local DIY community and share your projects online to inspire others!


Write A Comment