 Add Row
  Add
Add 

Transplanting 101: Maximizing Success in Your Garden
As spring blooms, gardening enthusiasts gear up for one of the most rewarding tasks—transplanting seedlings. Whether you've nurtured tiny plants from seed or purchased them from a garden center, understanding how to properly arrange them in your outdoor space can be pivotal to a thriving garden. Here’s a deep dive into the best practices you need to know.
The Importance of Research Before Transplanting
Before diving in, do your homework. Each plant has its unique preferences when it comes to soil type, light exposure, and water needs. Take time to familiarize yourself with the specific requirements of your seedlings. It’s always beneficial to amend soil before transplanting to create an ideal environment for growth. Knowing which plants are frost-tolerant is crucial as late spring cold snaps can catch even experienced gardeners off guard. Additionally, pay attention to weather forecasts—excessive wind or lack of moisture can be detrimental to new seedlings.
Understanding 'Hardening Off': Your Seedlings' First Steps
One often-overlooked detail in transplanting is the acclimatization process known as hardening off. This gradual exposure to outdoor conditions should ideally commence one to two weeks prior to transplanting. Start by placing your potted seedlings in a shaded outdoor area, incrementally introducing them to sunlight. Monitor their responses closely; if you notice burnt leaves, retreat back to the shade and adjust accordingly. This process better prepares your plants for the rigors of direct sunlight and wind, leading to successful growth.
Timing Is Everything: Perfect Days for Transplanting
When scheduling your transplanting, select a cool, cloudy day to minimize stress on the seedlings. If the weather doesn’t cooperate, aim for late afternoon to avoid the peak sun intensity. If rain is expected soon after your transplanting, even better—natural watering can mitigate transplant shock. In cases where rain isn't on the horizon, ensure you thoroughly water the seedlings right after planting.
Choose Your Champions: Evaluating Seedlings
Among a tray of seedlings, it’s vital to identify and choose the strongest candidates for transplanting. Aim to leave behind only the healthiest, second-leaf seedlings during thinning. The first two leaves are known as cotyledons and may not resemble the final plant form. Focus on those that have emerged past this stage, which are your true leaf plants equipped for the transition.
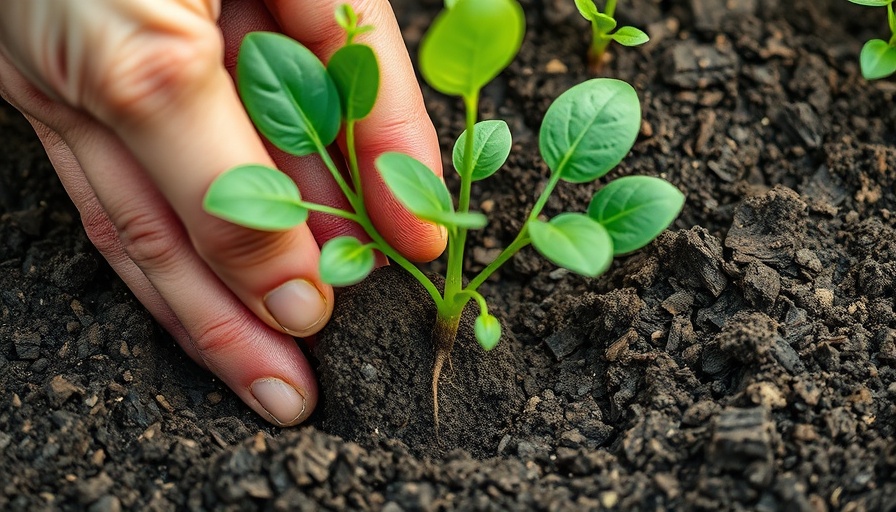
Preparing the Perfect Site: Digging Your Holes Right
Preparation of the planting site is crucial. Dig each hole deep enough so the seedling sits at the same soil level it previously occupied. Special consideration is required for tomatoes; bury them deeper in the ground, as they can sprout new roots along the buried stem. Ensuring optimal planting depth aids in soil contact and stability for the seedlings as they establish.
Why Transplanting Should Matter to Every Gardener
Understanding and mastering the transplanting process can set the stage for a lush garden filled with productive plants. It's not just a step in gardening—it's a turning point that can dictate the success or failure of your entire gardening endeavor. With each transplanting session, you are shaping your landscape, nurturing new life, and creating a place of beauty and abundance in your yard.
Final Thoughts: Embrace the Journey of Gardening
Transplanting seedlings is an opportunity for both new and seasoned gardeners to engage intimately with their plants’ growth cycles. Remember—a little bit of preparation and plant knowledge goes a long way in ensuring that your plants not only survive but thrive. Dive into the world of gardening with curiosity, and allow your garden to flourish!


Write A Comment