 Add Row
  Add
Add 

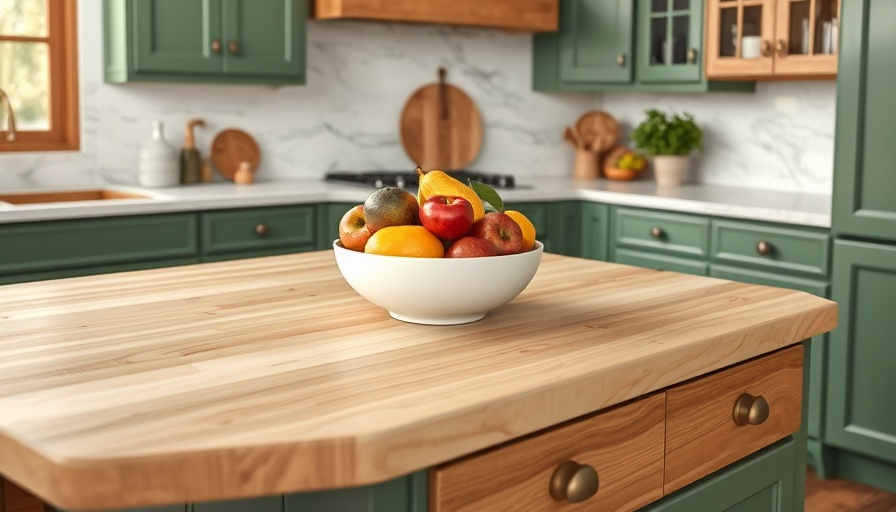
Create Your Dream Butcher Block Countertop: A Beginner's Guide
If you’re looking to enhance your kitchen with a beautiful and functional centerpiece, a do-it-yourself (DIY) butcher block countertop could be exactly what you need. This project won't just save you money; it will also bring a personal touch to your home. Here’s everything you need to know to create a stunning butcher block countertop from scratch.
Why Choose Butcher Block for Your Kitchen?
Butcher block countertops are both practical and aesthetically pleasing. Their durability and warm, natural look make them a popular choice. Hard maple is preferred due to its durability and tight grain, which helps prevent contamination in food preparation. Whether your kitchen is modern or rustic, a custom butcher block countertop adds charm and functionality.
Materials: Selecting the Right Wood
Before you start your project, the type of wood you choose is crucial. Hard maple is often favored, but other options like hickory or walnut can also work well. When purchasing, ensure the lumber is thicker than the planned finished thickness to accommodate sanding. A good rule of thumb is to buy wood that is 1/8 to 1/4-inch thicker than your desired final thickness.
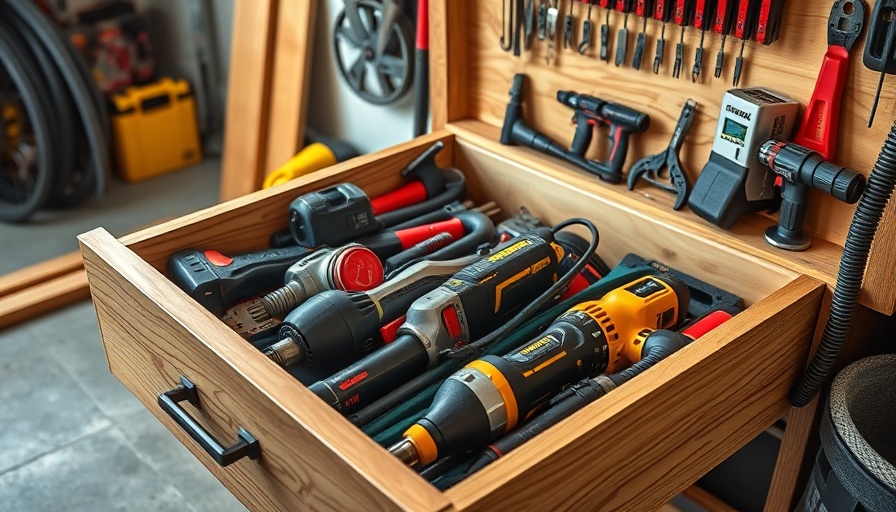
Tools You'll Need for the Project
- Angle grinder
- Drill with assorted bits
- Miter saw
- Drum sander or planer
- Clamps
- Router for shaping edges
Having the right tools not only streamlines the process but also ensures you achieve a professional finishing touch.
Step-by-Step Guide to Your DIY Countertop
The first step is to cut your hard maple boards into slats 2-1/2 inches wide. Don’t forget to leave some extra length for adjustments during assembly! Next, use your biscuit joiner to align the slats and glue them together for strength. Clamp them tightly and allow the glue to set – this is crucial for a seamless finish.
Finishing Touches: Sanding and Sealing
Sanding is where your countertop will really begin to shine. Begin with rougher sandpaper and work your way to finer grades to achieve a smooth surface. Afterwards, treat your countertop with a food-safe beeswax wood finish for protection against moisture and stains. This step not only preserves your work but enhances the wood's natural beauty!
Benefits of Building Your Own Butcher Block
Building your own countertop allows for customization based on your kitchen’s specific dimensions and style. This not only gives you ownership of the project but also an opportunity to exercise creativity. Plus, DIY projects foster a sense of accomplishment and can enhance your skills in woodworking.
Common Misconceptions about DIY Butcher Block Projects
Many believe that projects like these are only for seasoned carpenters. However, with some patience and the right guidance, even beginners can create a stunning butcher block. The key is to take your time and follow your steps meticulously for the best results.
Eco-Friendly Choices in Material Selection
Opting for sustainably sourced wood can make your butcher block not only a beautiful addition to your kitchen but also an environmentally responsible choice. Many local options, including reclaimed wood, can add character and sustainability to your project.
Future Trends: The Rise of Customizable Countertops
As homeowners increasingly seek personalized touches in their kitchens, DIY butcher block countertops will likely gain popularity. This trend toward customization reflects broader movements in home renovation, where personal style takes precedence over mass-produced options.
With this guide, you can confidently embark on your own butcher block countertop project. By investing your time and creativity into this endeavor, you’ll not only beautify your kitchen but also craft a unique piece that tells your home’s story. Embrace your DIY spirit and enjoy the journey!


Write A Comment