Mastering Ceiling Painting: Tips from the Pros
Painting ceilings can often feel like a daunting task, but with the right techniques and preparations, you can achieve a flawless finish with surprising ease! Whether you’re a homeowner looking to brighten your space or a contractor aiming to impress clients, these pro tips will elevate your painting game.
The Importance of Preparation
Before diving into the actual painting, preparation is key. Moving furniture and covering floors with drop cloths isn’t just about keeping your space clean; it’s about saving you time and money. If splatters occur on carpeting or wood floors, it can lead to extra costs for repairs or replacements. Most importantly, take the time to inspect your ceiling for any damages, such as water stains or cracks. Selecting the proper tools, like a quality stain-blocking primer, can make a world of difference. Remember, a well-prepared ceiling is half the job done!
Selecting the Right Materials
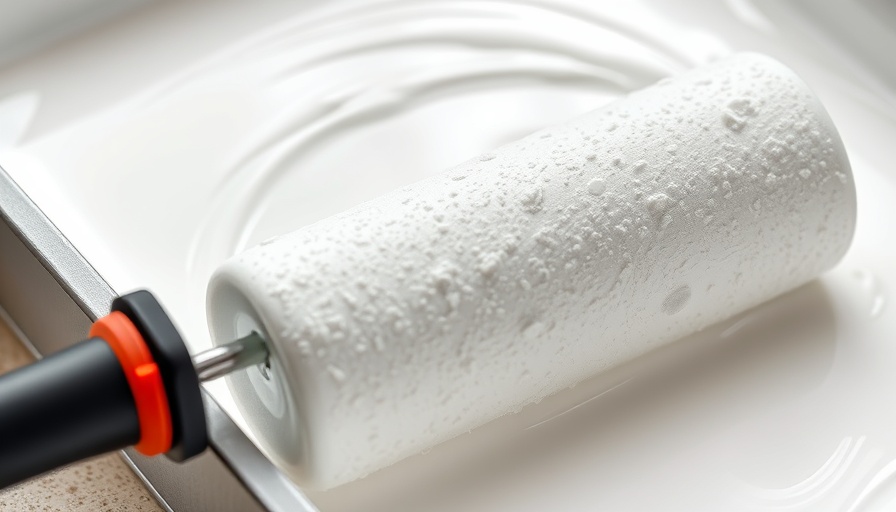
Not all paints are created equally, especially when it comes to ceilings. Look for products specifically designed for ceiling applications. These paints usually have lower sheen levels, which minimize glare, and are designed to minimize drips and splatters. Consider brands like BEHR that offer specialized ceiling paints for better coverage and durability. Additionally, investing in high-quality rollers with thick naps can significantly speed up your process and yield a smoother finish.
Stain-Blocking Primers: Your Secret Weapon
Sometimes ceilings bear the scars of past mistakes—water stains, grease marks, or even nicotine buildup. In these cases, a stain-blocking primer can be your best ally. Using products like KILZ Restoration Primer can provide that necessary foundation, covering unsightly blemishes that basic paint alone would fail to hide. For those particularly stubborn stains, a good shellac-based primer will help seal the surface, providing a fresh start for your painting project.
Technique Matters
Whether you choose to roll or spray your ceiling, mastering the technique is crucial. When rolling, work in sections—typically 4x4 feet is ideal. Keep a ‘wet edge’ by painting quickly and without delay between sections; this helps prevent lap marks and ensures an even coat. For textured ceilings, spraying might be a better option, as it can avoid dislodging texture that could happen with rolling.
The Cutting In Process
Before rolling, don’t forget to 'cut in'—this involves painting the corners and edges with a brush. It might seem tedious, but it ensures that the roller will cover any brush strokes. The technique here is to roll the edge with your roller after cutting in to blend the two areas for a seamless look.
Keeping It Safe and Clean
Ceiling painting can be physically demanding, so safety should never be overlooked. Use a sturdy ladder and consider wearing safety glasses to protect against paint splatter. Moreover, don’t forget to wear a hat to avoid those pesky “paint freckles” that come from rolling overhead. Clean your tools promptly and take regular breaks to stay fresh and focused on the task at hand.
Don’t Fear Color!
Lastly, don’t be afraid to explore colors beyond the traditional ceiling white. A soft hue can create a cozy ambiance and elevate your room's design. Consult color samples with wall colors to find a harmonious duo that breathes life into your home.
Time to Transform!
In conclusion, painting your ceiling doesn’t have to be a chore filled with frustration. With the right methods, tools, and a little creativity, it can be immensely satisfying. So gather your materials, prep your space, and unleash your inner artist! Consider consulting with a professional contractor if you still feel overwhelmed; they can provide tailored insights on specifying products and techniques suitable for your unique project.
Want to elevate your home improvement skills even further? Check out our extensive guides on DIY home repairs and renovations, including resources tailored for both homeowners and contractors!
 Add Row
  Add
Add 


Write A Comment