 Add Row
  Add
Add 

Restoring the Radiance of Your Popcorn Ceiling
Popcorn ceilings, popular in homes through the 70s and 80s, add a distinct style to many spaces. However, over the years, these textured ceilings can accumulate dust and grime, detracting from their aesthetic appeal. If you find yourself looking up at a dingy popcorn ceiling, don’t fret; cleaning it is both manageable and rewarding. This guide will provide you with essential steps and tips to restore your ceiling's luster.
Understanding the Challenge: Toxicity and Allergens
One key factor to consider is the potential toxicity of older popcorn ceilings. Before the 1980s, many were made with asbestos, a known carcinogen. If your home possesses a ceiling from that era, it's crucial to consult with professionals for safe removal. For those with non-asbestos ceilings, though, you can confidently clean your popcorn ceiling to eliminate dust, allergens, and potential odors without the fear of disturbing harmful materials.
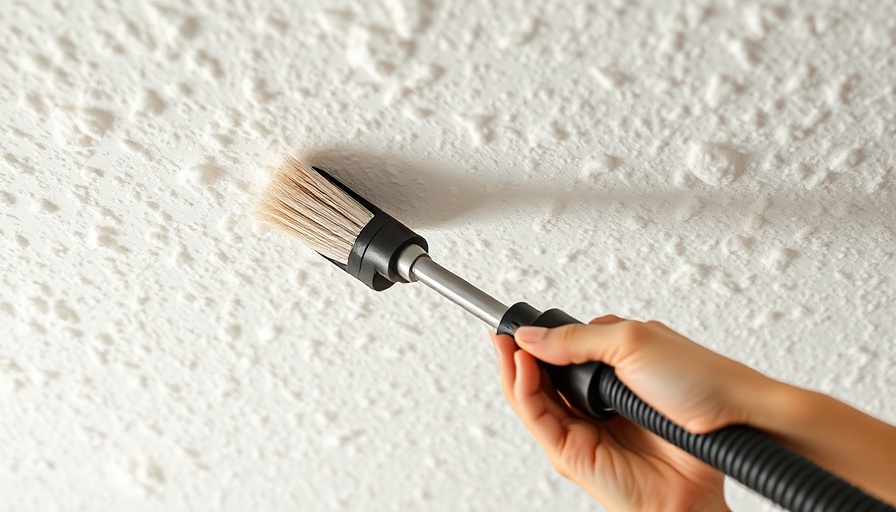
Essential Tools and Materials for Cleaning
To effectively clean your popcorn ceiling, a few tools can make your task easier:
- 2” Chip Brush: Ideal for delicate ceilings.
- Microfiber Duster: Helps trap dust without displacing it into the air.
- Vacuum Cleaner with Soft Brush Attachment: The best method for initial dust removal.
- Drop Cloths: Protect your floor and furniture from falling debris.
- Spray Bottle and Sponge: Use these for any deeper cleaning needed.
Step-by-Step Guide for Cleaning
Step 1: Preparation is Key
Before you start, prepare your space. Make sure to lay down drop cloths on the ground and cover or move furniture to avoid damage. This preparation will save you time during cleanup and help you focus on getting the job done.
Step 2: Vacuuum Surface Dust
Using a vacuum with a soft brush attachment, gently clean the surface of the popcorn ceiling. This process removes the bulk of the dust without requiring heavy scrubbing that could disrupt the texture.
Step 3: Dusting
Next, use the chip brush or microfiber duster to gently brush away any remaining dust. This step may take some patience, but it’s essential for a thorough clean.
Step 4: Cleaning Solution Application
If your ceiling exhibits stains or odors, mix a few drops of dish soap in a spray bottle filled with clean water. Lightly mist the area and gently wipe with a sponge. Be cautious not to saturate the ceiling, as excess moisture can cause damage.
Step 5: Finishing Touches
After cleaning, allow the area to dry completely. It’s essential that moisture does not linger, as this can lead to mold growth, an entirely different cleaning challenge.
Unique Benefits of Cleaning Your Popcorn Ceiling
Maintaining a clean popcorn ceiling enhances the overall ambiance of your home. Cleaner ceilings allow for better light reflection, making rooms feel brighter and more inviting. Moreover, a dust-free ceiling contributes to improved indoor air quality, reducing allergens and health risks for all residents.
Practical Insights for Homeowners
While cleaning your popcorn ceiling is essential, it is equally important to stay proactive. Regular dusting, yearly maintenance, and using air purifiers can significantly enhance your indoor environment.
Frequently Asked Questions
Can I paint my popcorn ceiling? Yes, painting is an option! However, proper preparation and the right type of paint are crucial for maintaining texture.
What if I discover my ceiling contains asbestos? In this case, absolutely hire a licensed professional for safe removal!
Conclusion: Take Action!
Caring for your popcorn ceiling is not just a cosmetic update; it’s part of creating a healthy home environment. With these steps, you can confidently put your best foot forward in cleaning and maintaining your ceiling.


Write A Comment