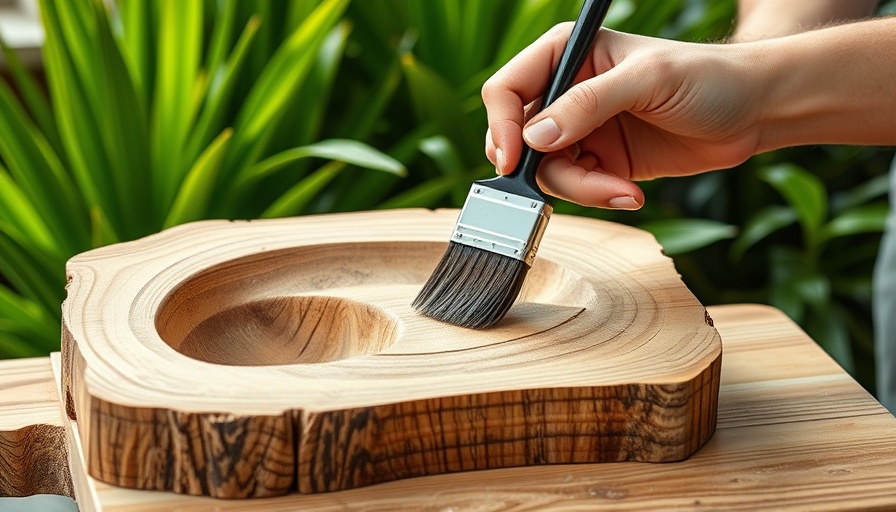
Unlock Your Creativity with Custom Concrete Molds
Concrete molds not only serve a functional purpose but also provide a unique canvas for homeowners looking to infuse creativity into their outdoor spaces. Whether you are interested in crafting stepping stones, planters, or intricate sculptures, creating custom concrete molds opens a door to endless personalization possibilities. So, why not embrace this DIY project as a way to enhance your yard and express your unique style?
Choosing the Right Mold Material for Your Project
The first step in your concrete mold-making journey is selecting the right material. Popular options include:
- Wood: Ideal for sturdiness and custom silhouettes, wooden molds are perfect for creating rectangular or square shapes, such as pavers and planter boxes. Ensure you select a type of wood that can withstand moisture and stress for optimal results.
- Silicone: Flexibility is key to silicone molds, making them excellent for detailed designs. Whether you want to create ornate figurines or reusable molds, silicone provides an effortless release once the concrete is cured.
- Plastic: Best suited for quick projects, plastic tubs are excellent for circular designs like stepping stones. Plus, they can provide a smooth finish with minimal effort.
- Cardboard: The ultimate choice for testers or temporary projects, cardboard molds are cost-effective. However, they require lining or sealing to prevent moisture damage and maintain shape.
Ultimately, your selection should reflect the project's complexity and the finishing details you desire.
Key Steps to Mastering the Mold-Making Process
Creating concrete molds may seem daunting, but breaking it down into manageable steps makes the process easier. Here’s a simplified guide:
- Gather Your Materials: You’ll need cement, sand, gravel, water, your chosen mold material, screws or nails (for wood), and a concrete release agent.
- Mix Your Concrete: Combine the cement, sand, and gravel in a wheelbarrow or large bucket. Gradually add water while stirring until you reach a thick, pudding-like consistency.
- Prepare Your Mold: For wooden molds, seal the joints with caulk to prevent leaks. If using silicone or plastic, apply a concrete release agent to ensure easy removal.
- Pour the Concrete: Gently pour the mixture into your mold, tapping the sides to remove air bubbles.
- Curing Time: Allow your concrete to cure fully—this can range from 24 to 48 hours. Follow specific instructions based on the type of concrete used.
- De-Mold Your Creation: Once fully cured, carefully remove the mold to reveal your design. If you’ve used silicone, this should be straightforward; for wood or plastic, take your time to avoid breakage.
Following these steps will lead you to beautifully crafted concrete pieces ready for display.
Transforming Your Outdoor Space with Concrete Art
When thoughtfully designed, custom concrete molds can significantly enhance the visual appeal of your yard. Imagine a beautifully designed pathway made of personalized stepping stones leading to a cozy seating area. Or, consider unique flower pots that compliment your garden’s palette. Each piece becomes not just a functional element but a reflection of your personality and style, drawing the admiration of family and friends.
Exploring the Value of DIY Projects
Beyond aesthetics, crafting your own concrete molds can save money and allows for full control over the materials used. DIY projects can range from simple to complex; starting with basic shapes can build confidence before progressing to more intricate designs. This hands-on experience not only enhances the value of your home but also fosters a deeper connection to the space around you.
Final Thoughts and Next Steps
Now that you have the essential knowledge to embark on your concrete mold-making journey, it's time to unleash your creativity! Start with a small project to build confidence, then scale up as you find your rhythm. With the right materials and techniques, you can transform any bland space into a vibrant showcase of your personal style.
Ready to dive into DIY? Gather your supplies today and get started on your first concrete creation!
 Add Row
  Add
Add 


Write A Comment