 Add Row
  Add
Add 


Transform Your Kitchen With DIY Countertop Installation
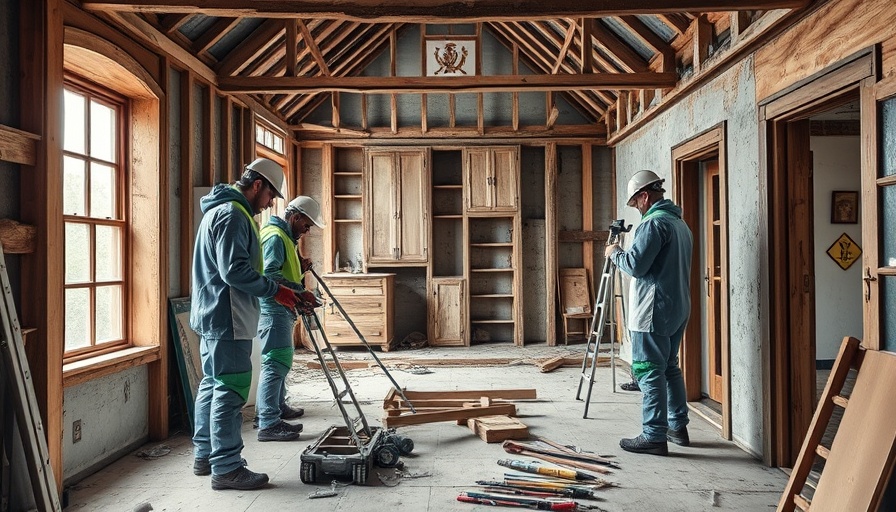
Your kitchen is often the heart of your home and a place where you spend considerable time, both cooking and socializing. Installing new countertops can dramatically alter the look and feel of your kitchen, making it an exciting DIY project that not only enhances your home's aesthetics but also provides a sense of accomplishment. Gone are the days when replacing your countertops required professional help. With a bit of planning and the right tools, you can achieve stunning results all on your own.
Understanding the Basics of Countertop Installation
Before you dive into purchasing materials and tools, it's essential to grasp the fundamental steps involved in countertop installation. Typically, this process involves not just the physical lifting and positioning but also an understanding of measurements and adjustments—especially to fit corners and walls that are often not perfectly straight.
Installing countertops requires a blend of creativity and precision. Think of it as a puzzle where each piece needs careful alignment. Begin by assessing your kitchen cabinets. Ensuring your cabinet tops are level is critical as this provides a solid foundation for your countertops. If you find that they are slightly uneven, using shims can help level them out, ensuring a seamless appearance once the countertops are in place.
Essential Tools for the Job
Your DIY kitchen project will require certain tools to facilitate a smooth installation. Key tools include:
- Caulk Gun: For sealing between the countertop and walls, preventing moisture infiltration.
- Drill: Essential for creating holes when securing the countertops.
- Framing or Drywall Square: Helping ensure your cuts are perfectly straight.
- Level: A must to check the flatness and alignment of cabinets.
- Track or Circular Saw: For making precise cuts in the countertop material.
Step-by-Step Guide to Countertop Installation
With your tools ready, follow these steps to ensure your installation goes as smoothly as possible:
Step 1: Check Cabinet Level
Using a two or four-foot level, ensure the tops of all cabinets are flush and aligned. If adjustments are needed, correct them first or use shims later to ensure your new countertop sits perfectly.
Step 2: Dry Fit and Mark Countertops
Before making any cuts, lay out the countertops on the cabinets to test for fit. Mark your cuts while accounting for any wall irregularities using a straightedge. Accurate markings will save time and materials during the cutting process.
Step 3: Cut the Countertops
With your markings in place, proceed with cutting. It’s advisable to practice on scrap pieces if you’re new to using power tools. Pay close attention to the ability to measure twice and cut once, ensuring precision.
Step 4: Secure the Countertop
Once cut and fitted, apply adhesive and securely place the countertops onto the cabinets, ensuring they're seated well. Use screws to maintain stability, particularly at seams where two pieces of countertop meet.
Step 5: Seal All Edges
Finally, caulk all edges—especially where the countertop meets the wall—to prevent moisture from seeping underneath, which could lead to damage over time. This not only protects but also enhances the appearance of your installation.
Embracing the DIY Spirit: Final Thoughts
The satisfaction of completing a DIY kitchen countertop installation cannot be overstated. Not only will you have transformed your kitchen's aesthetic appeal, but you will also have gained invaluable experience as a DIY enthusiast. Remember, patience is key, and don’t hesitate to take breaks when needed!
If you’re looking to elevate your home with a personal touch, now is the time to embark on a DIY countertop project! Embrace the challenge, and enjoy the rewarding outcome that comes from doing it yourself.
To stay updated on more DIY tips and tricks for home improvement projects, make sure to sign up for our newsletter!


Write A Comment