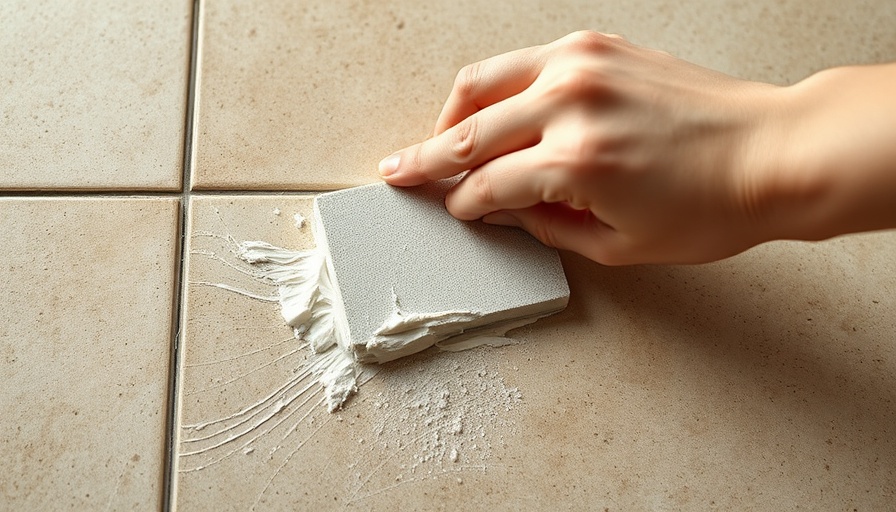
Mastering Grout Repair: Your Comprehensive DIY Guide
Grout repair is a vital skill for homeowners who wish to maintain the aesthetic and structural integrity of their tiled surfaces. Whether you're dealing with unsightly cracks or moldy grout lines, learning how to repair grout is not only cost-effective but also a rewarding DIY project. This article delves into the step-by-step process of grout repair, essential tools, and tips to ensure your tiles remain in pristine condition.
Understanding the Importance of Grout in Home Design
Grout serves as a crucial component in tile installations. It fills the gaps between tiles and provides stability, preventing water infiltration that can lead to mold or structural damage. Proper grout maintenance enhances the overall appearance of your home’s decor, making it essential to address any damage quickly. Grout also plays a significant role in cleanliness; well-maintained grout minimizes mold growth and stains.
Tools You’ll Need for Grout Repair
To repair grout effectively, gather the following tools:
- Grout saw or scraper: This tool will help you remove old grout.
- Grout float: This is used to apply the new grout.
- Sponge: Essential for cleaning surfaces and smoothing grout lines.
- Bucket: For mixing grout and water.
- New grout: Select a grout color that matches your existing tiles.
Step-By-Step Grout Repair Procedure
Follow these detailed steps to repair your grout:
- Assess the Damage: Determine how much grout needs replacing. Look for crumbling or discolored areas.
- Remove Old Grout: Use the grout saw to carefully remove damaged grout between tiles. Be cautious not to scratch the tiles.
- Clean the Area: Clear away debris and dust from the gaps using a sponge and water to ensure proper adherence of new grout.
- Mix New Grout: Follow manufacturer instructions to mix the grout to a smooth consistency.
- Apply New Grout: Use a grout float to press the new grout into the gaps, ensuring it's level with the tile surface.
- Smooth the Grout Lines: With a damp sponge, smooth out the grout lines and wipe away excess grout.
- Let it Cure: Allow the grout to cure according to the manufacturer's instructions, usually 24 to 48 hours.
- Seal the Grout: For added protection, apply a grout sealer to help resist stains and moisture.
Common Grout Repair Mistakes to Avoid
While grout repair is accessible to many, some common mistakes can compromise your results. Here are a few pitfalls to avoid:
- Skipping the Cleaning Step: Neglecting to clean the area can result in poor adhesion and a weak bond.
- Using the Wrong Type of Grout: Ensure the grout you're using is suitable for your specific tile type (e.g., ceramic vs. natural stone).
- Incorrect Water Ratios: Mixing grout with too much water can weaken its composition.
- Not Allowing Sufficient Curing Time: Rushing the process can lead to cracks and further damage.
Future Trends in Grout Technology
Staying informed about advancements in grout products can enhance your DIY capabilities. For instance:
- Epoxy Grout: Increasingly popular for its durability and stain resistance.
- Pre-mixed Grouts: These products ensure consistency and ease of use, making repairs even more manageable for DIYers.
- Green Grouts: Environmental concerns have led to the development of eco-friendly grout options.
Concluding Thoughts on Grout Repair
DIY grout repair may initially seem daunting, yet it's readily achievable with a clear understanding of the process and tools involved. Not only will resolving grout issues improve your home’s appearance, but it will also extend the longevity of your tile surfaces. Don’t overlook this crucial aspect of home maintenance. Ready to tackle your grout repair? Gather your materials and get started today!
 Add Row
  Add
Add 


Write A Comment