 Add Row
  Add
Add 

Transform Your Kitchen with These DIY Cabinet Hardware Tips
Giving your kitchen a fresh look doesn't always require a complete renovation. One of the easiest and most impactful changes is upgrading your cabinet hardware. With just a few tools and a half hour, you can dramatically enhance both the functionality and aesthetic of your kitchen. But to ensure a smooth project, it’s crucial to follow some tried-and-true tips for installing cabinet hardware. Here are thirteen essential pointers for achieving a professional finish without the stress.
Utilize Standard Practices for Placement
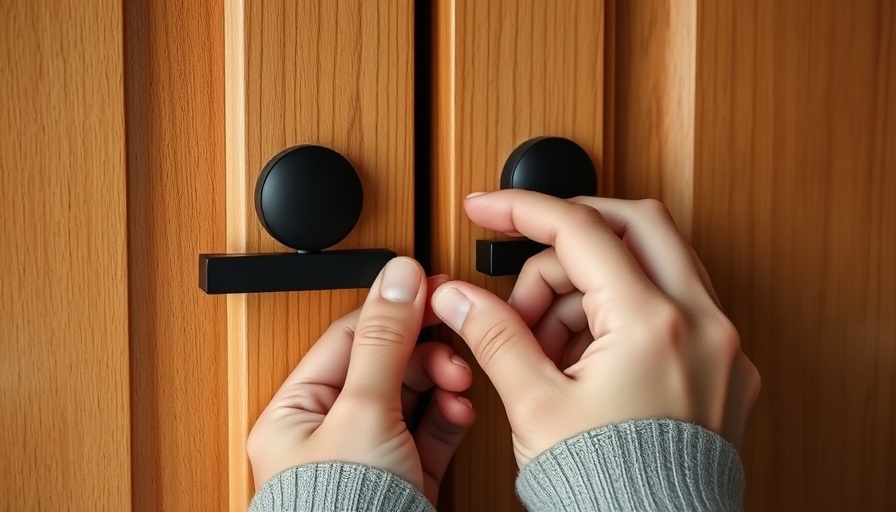
When installing cabinet knobs and pulls, knowing where to place them is key. A widely accepted guide is to align drawer knobs with the top of the lower door rail, while for pulls, position the bottom of the hardware to meet the top of the door rail. This approach not only looks visually appealing but also makes it easier to operate the hardware.
Get Creative with Temporary Fixes
If you're unsure about the placement of your new hardware, consider using reusable putty. It allows you to temporarily attach your knobs or pulls in various spots to see what works best. Mark the chosen spot with a pencil before completing the installation—a simple tweak that can save time and frustration.
The Power of Templates
Installing multiple knobs or pulls? Using a jig or template can be a game-changer. Templates not only expedite the installation process but also ensure that your hardware is aligned perfectly across all cabinets. A simple DIY template made from two pieces of wood can serve multiple sizes of cabinet doors, minimizing room for errors.
Covering Up Old Mistakes
Transitioning from one style of hardware to another can leave behind unwanted holes. This is where back plates are invaluable. They not only hide unsightly holes but also offer a design element that can enhance your cabinets' appearance. If a back plate doesn’t fit your needs, colorful putty can fill in the gaps, allowing for a seamless look.
Using Adhesive for Stability
For knobs that tend to twist over time, such as oblong or rectangular options, applying a drop of superglue to the back can prevent further movement. This simple fix ensures that your hardware stays secure and looks its best for years to come.
Adjusting for Aesthetic Harmony
When dealing with multiple drawer sizes, consider adjusting the height of the pulls on the larger drawers to a point higher than their center. This approach establishes an even spacing across your cabinets and enhances the visual pleasure, preventing excessive bending whenever you need to access the drawer.
Optimize the Use of Jigs
Investing in a quality jig can truly streamline your installation process. It greatly reduces the risk of mistakes, improves the uniformity of placement, and speeds up the overall job. Learning to set up a jig correctly for different hardware can lead to a flawless look—perfect for the busy DIY enthusiast.
The Importance of Finishing Touches
Once all your hardware is installed, don't forget those final details. Keep a small container of paint used on your cabinets handy for any necessary touch-ups, ensuring that your installation looks immaculate and well-coordinated.
Adjust Cabinet Hinges for a Perfect Fit
Last but not least, if your cabinet doors aren't aligned properly, adjusting European-style hinges is straightforward and effective. By turning a few screws, you can achieve a flush appearance that not only looks great but also functions effectively.
Your Next Step Towards a Beautiful Kitchen
Transforming your kitchen doesn't have to be overwhelming or complex. With these simple DIY cabinet hardware installation tips, even a beginner can achieve professional-looking results in no time. Ready to roll up your sleeves? Start planning your hardware upgrades today for a kitchen that reflects your personal style!
Want more tips on home improvement and DIY projects? Sign up for our newsletter to stay updated on the latest trends and techniques for your home!


Write A Comment