 Add Row
  Add
Add 

Understand the Importance of Efficient Tile Repair
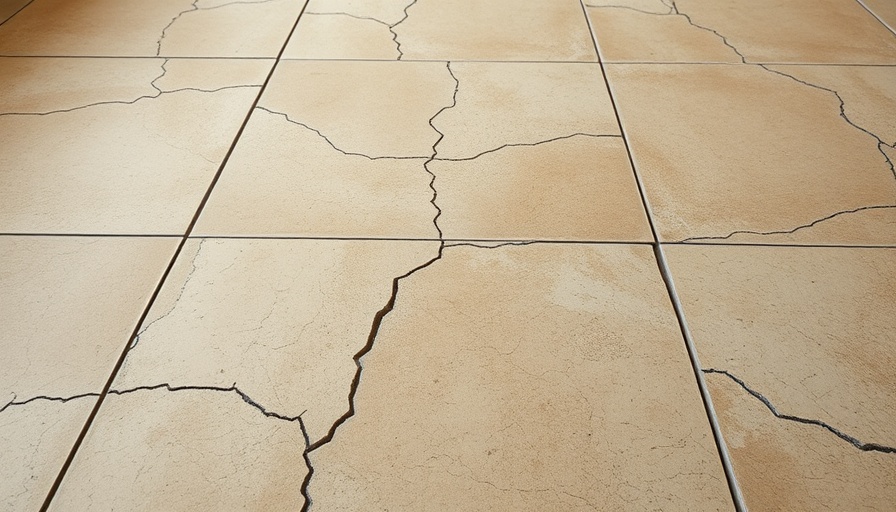
Cracked tiles can be a common sight in households, often resulting from shifts in temperature, heavy impacts, or improper installation. Repairing these cracks promptly not only enhances the aesthetics of your space but also prevents further damage. Left unchecked, a small issue can escalate into significant water damage beneath the tiles, risking mold and structural integrity.
Gather Necessary Tools for a Successful Repair
Before you start, it's essential to have the right materials at your disposal. A simple repair job typically requires a small set of accessible items, including:
- Two-part clear epoxy
- A Popsicle stick or toothpick for precise application
- A detail paintbrush and paint to match your tiles
- Fine-grit sandpaper for smoothing the epoxy
- A urethane sealer to protect your work after completion
These tools are not only easy to use for DIY enthusiasts but also cost-effective, typically falling between $10 to $40 for a quality epoxy repair kit.
Steps to Repair Cracked Tiles
Here’s a step-by-step guide to effectively repair cracked floor tiles:
- Clean the Area: Thorough cleaning ensures the epoxy adheres well. Use dish soap and water or rubbing alcohol to remove any dust or grease from the tile surface.
- Mix Your Epoxy: Following the manufacturer's instructions, mix the two components of the epoxy that will bond your tile back together. It’s crucial to do this in a ventilated area, and wearing gloves and a mask is advisable.
- Apply the Epoxy: Use a toothpick for hairline cracks and a popsicle stick for wider ones. Apply gently, ensuring you cover the crack and some adjacent area for a strong bond.
- Allow to Cure: Follow the epoxy's curing instructions, which usually take about 30 minutes, but allow 24 hours before putting weight on the tile.
- Sand and Paint: If necessary, lightly sand the surface once cured to ensure it's even. Then, carefully apply paint to match the existing tile color.
- Seal the Repair: Finally, seal your fix with a urethane-based sealer to protect against future wear and tear.
When to Consider Tile Replacement
Not all cracks can be effectively repaired. Substantial cracks, missing pieces, or shattered tiles necessitate a full replacement instead of a repair. If the damage is extensive, it’s best to consult a professional to avoid unnecessary complications.
Preventative Measures to Avoid Future Cracks
To reduce the risk of future tile issues, consider these preventative measures:
- Ensure tiles are installed on a properly leveled surface.
- Avoid placing heavy appliances directly on tile floors without protective pads.
- Routine maintenance checks can help catch small cracks before they escalate into larger problems.
Conclusion: Tackle Tile Cracks Today!
Understanding how to fix a cracked floor tile without replacement can save homeowners time and money, enhancing the longevity of floor installations. By following these steps carefully and taking preventative measures, it becomes easier to maintain a pristine floor. If the task seems daunting, don’t hesitate to engage with skilled contractors who can offer assistance.


Write A Comment