 Add Row
  Add
Add 

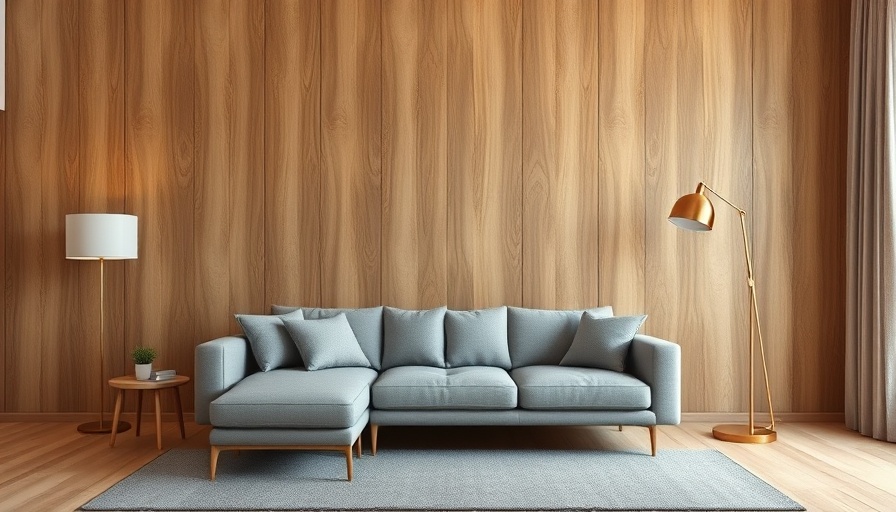
Transform Your Space: The Magic of Wood Wall Paneling
When it comes to home improvement, few projects can rival the transformative power of wood wall paneling. Not only does it add elegance, but it also imbues warmth and character into any room. Whether you're a seasoned contractor or a DIY novice, the good news is that making and installing wood wall paneling is more accessible than ever.
Historical Context: The Timeless Appeal of Wood Paneling
Historically, wood wall paneling dates back to the medieval era when it served as insulation and decoration. Over the years, its appeal has only grown, adapting through styles from classic Victorian homes to contemporary designs. Today, the trend is not just about aesthetics; many homeowners are now recognizing the insulation properties of wood paneling, which can significantly improve energy efficiency when installed correctly.
Why Choose Wood Wall Paneling?
Wood wall paneling provides several benefits that go beyond mere decoration. It is relatively cost-effective compared to other wall treatments, and its versatility means it can be applied over various surfaces including drywall, brick, or even tile. By choosing wood paneling, you can enhance your home's value and create a cozy atmosphere that resonates across generations.
Preparing for a Paneling Project: Tools and Supplies
Before diving into your installation, it's essential to gather the right tools and materials. Commonly required tools include a tape measure, spirit level, precision drill, and a saw. The application might involve construction adhesive or screws, depending on the surface and type of panel you select. For novice DIYers, simpler kits are available that provide clear instructions and all necessary components, making the process easier than ever.
Step-by-Step Guide to Installation
Installing wood wall paneling involves several straightforward steps:
- Measure and Plan: Before cutting, measure your space carefully to know how many panels you'll need. Make sure to account for doors and windows.
- Prepare the Wall: Ensure that the wall surface is clean and dry. Remove any existing finishes that could affect adherence.
- Cut the Panels: Whether you are using a circular saw or hand tools, cut your panels to fit your measurements. Precision here ensures a clean installation.
- Install the Panels: Use construction adhesive for a sticky connection or nails/screws for a more secure fit. Each panel should be butted closely for a seamless look.
- Finishing Touches: Caulk all edges to cover gaps and create an aesthetically pleasing finish.
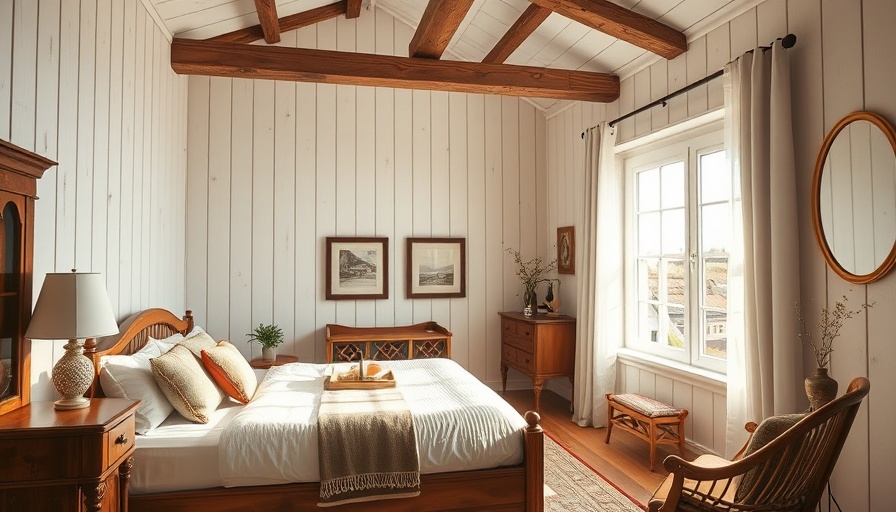
Innovative Design Ideas for Your Panels
There are countless designs to consider when installing wood wall panels. From horizontal slats for a modern look to vertical boards which can elongate a room's height, the choice is yours. Adding decorative moulding at the top can bring a sophisticated edge to your paneling, making it look custom-crafted.
Future Trends in Wall Paneling
As sustainability becomes increasingly central in home design, eco-friendly paneling options are gaining popularity. Reclaimed wood and sustainably sourced materials allow homeowners to enhance their spaces while being mindful of their environmental impact.
Common Misconceptions and Facts
A common myth surrounding wood paneling is that it can only be used in traditional homes. In reality, wood wall panels can complement various design styles, including contemporary and industrial themes. Additionally, some believe it requires specialized skills to install, yet many find that with the right guidance, even beginners can succeed.
Actionable Insights for Homeowners and Contractors
For homeowners seeking a stylish upgrade, consider investing in quality wood paneling that aligns with your home's theme. If you're a contractor, this is an opportunity to showcase your skills by offering detailed project consultations to help homeowners visualize their choices before installation.
Are you ready to transform your home with stunning wood wall paneling? Begin your journey today by exploring premium wooden options and start your DIY project with our easy-to-follow guides!


Write A Comment