 Add Row
  Add
Add 

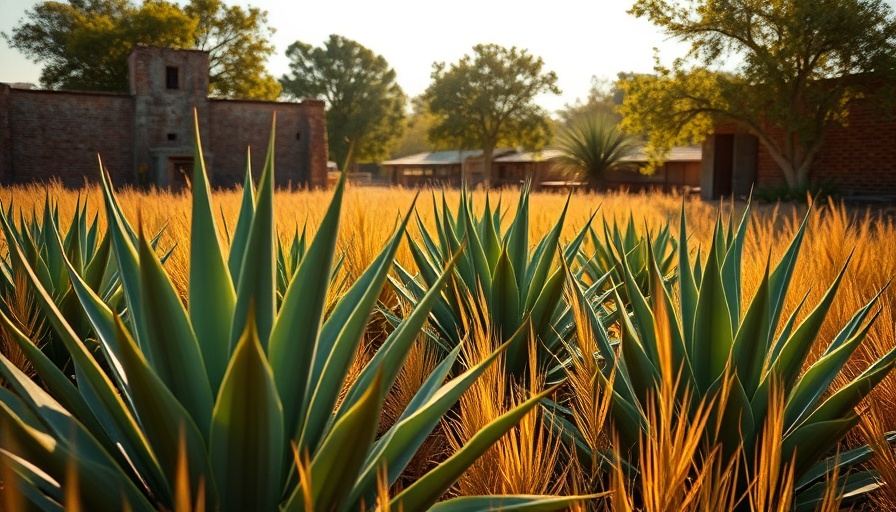
Discover the Sweet Benefits of American Agave Syrup
Agave syrup, made from the eponymous plant, offers a unique flavor and a myriad of uses in both drinks and culinary applications. This natural sweetener has become increasingly popular as a substitute for traditional sugars and sweeteners, thanks to its smooth taste that won’t overpower dishes and its ability to blend seamlessly into a variety of recipes.
Your Essential Guide to DIY Agave Syrup
Making your own agave syrup at home not only saves money but allows you to control the quality and taste of your product. A straightforward project, it requires just a few tools and some patience. Here’s a simple step-by-step guide on how to create sweet perfection.
Step 1: Prepare Your Ingredients and Tools
To start your agave syrup journey, gather the necessary ingredients and equipment:
- Fresh agave piña: This is the core of the agave plant, where the juice is extracted.
- Tools: You’ll need a large knife, a steamer or pot, a juicer or heavy-duty masher, a saucepan, and a fine mesh strainer.
Preparation is key here; ensure you have everything at hand to ease the process. Fresh juice is critical for making delicious syrup!
Step 2: Extracting the Sweet Juice
The first physical phase involves cutting away the tough leaves of the agave to unveil the piña—a task that requires a sharp knife and care. Once you have the piña, it’s time to steam it. This involves placing chopped piña in a steamer and cooking it over low heat for 8 to 12 hours until it becomes fork-tender and fragrant.
Step 3: Slow-Cook Your Syrup
After steaming, allow your piña to cool slightly, and then mash it to extract the beautiful, golden juice. Strain the juice to remove fibrous bits, leaving you with refined liquid gold. This juice then needs to be simmered in a heavy saucepan until it thickens—patience is key here! The end product will be a syrup that is thicker than honey but retains a light viscosity.
Step 4: Storing Your Creation
Once cooled, transfer your agave syrup to a heat-safe jar to store it. Make sure it’s sealed properly to keep out air and moisture, which can spoil your syrup over time.
Why Homemade Agave Syrup? A Comparison with Store-Bought
While store-bought agave syrups may be convenient, they often contain additives and preservatives. Homemade syrup, on the other hand, is pure and can be tailored to your taste. Additionally, understanding the process can inspire other DIY projects relating to food and beverages, making your kitchen more self-sufficient.
Practical Tips for Your Agave Syrup Adventure
Start with small batches to perfect your method and flavor. If you opt for variations, consider infusing flavors like vanilla or cinnamon into your syrup during the slow-cooking phase. Such variations can elevate your culinary experience and impress your friends and family.
Conclusion: Embrace Your DIY Spirit!
By making your own agave syrup, you not only embrace the art of DIY but also engage in a healthier, more sustainable lifestyle. This project is a fantastic way for homeowners to get creative and enjoy a delectable sweetener that has applications throughout the kitchen. So roll up your sleeves, and start experimenting with agave syrup today!


Write A Comment