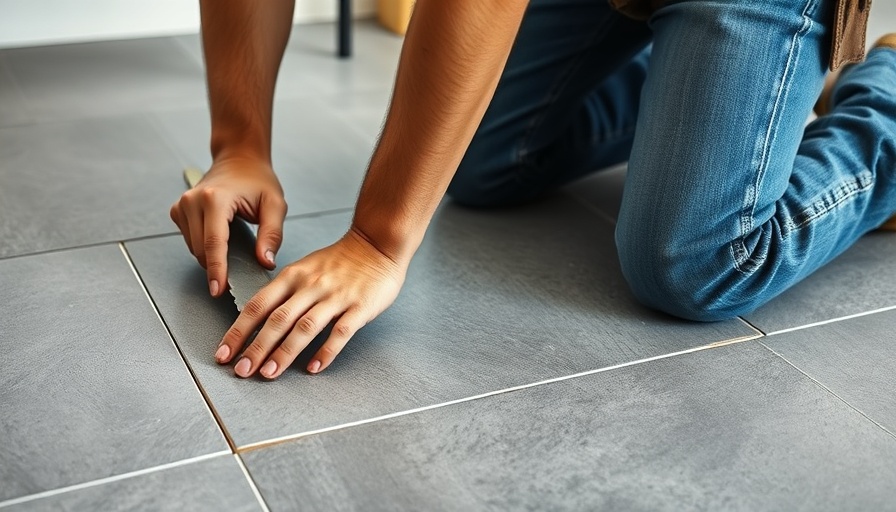
Mastering the Craft: The Essential Tiling Tools for DIY Enthusiasts
Whether you're tackling a home renovation project or simply updating your bathroom, tiling can add a durable and aesthetically pleasing element to your space. It’s important to have the right tools to ensure a professional-grade installation. Here, we'll explore the essential tiling tools every DIYer should know—tools that can elevate your tiling project from basic to breathtaking.
1. Trowels: Your Foundation Tool
A trowel is an absolute must-have for any tiling job. This handheld tool typically features a flat blade to spread adhesive evenly across surfaces. For tile projects, there are various types of trowels, such as notched, which are essential for guiding the grout and providing adequate adhesion. A 1/4-inch square notched trowel is often recommended for larger tiles, ensuring each tile is firmly set and free from air bubbles.
2. Tile Cutters: Precision in Every Slice
Tile cutting is a crucial skill, and having the right cutter can make all the difference. Manual tile cutters are perfect for straight cuts, while wet saws are essential for making precise and intricate cuts, especially in porcelain and stone tiles. Utilizing a wet saw will not only enable cleaner cuts but will also minimize the risk of chipping the tile.
3. Grout Float: The Finishing Touch
A grout float is a specialized tool that helps you apply grout evenly between tiles. Its rubber surface allows for the smooth application and helps push grout into the joints efficiently. The right technique involves holding the float at a 45-degree angle, ensuring you fill all gaps while also removing excess grout off the tile surface.
4. Spacers: Achieving Uniform Gaps
Spacers may seem like a minor detail, but they play a big role in ensuring uniform gaps between tiles, which is vital for aesthetic appeal. Using spacers prevents tiles from shifting during installation and allows for consistent grout lines. They come in various sizes to cater to the type of grout joint you desire, whether narrow for a sleek look or wider for a more rustic appearance.
5. Level: Ensuring Stability
A level helps ensure that your tiles are placed evenly, preventing future problems such as warping or uneven surfaces. It’s important to check the level frequently during installation—failure to do so may lead to uneven tiles and a wobbly finish.
6. Rubber Mallet: Gentle but Firm
A rubber mallet is ideal for tapping tiles into place without causing damage. Unlike a traditional hammer, a rubber mallet provides the necessary force without chipping the edges, leading to a cleaner installation process.
7. Mixing Paddle: Consistency is Key
If you're using thin-set mortar or grout, a mixing paddle is essential to achieve a consistent texture. Mixing your adhesive properly is crucial for the bonding process; too thick and the tiles won’t adhere, too thin and you risk them slipping. Achieving the right consistency ensures a strong and lasting installation.
8. Safety Gear: Protecting Yourself
No job is complete without safety gear, especially when working with tools that could pose risk. Safety goggles protect your eyes from flying debris, while kneepads can make working on your knees much more bearable as you lay each tile. Remember, the best installations come when you’re both efficient and safe.
Conclusion
Equipping yourself with the right tools is just as vital as knowing the techniques for tile installation. By utilizing these essential tiling tools, you'll not only enhance the quality of your work but also position yourself for a smoother, more enjoyable project experience. Tiling doesn't have to be daunting; with the right tools in hand, precision and professionalism are within your reach!
Ready to dive into your own tiling project? Gather your tools and get started today. There’s an undeniable satisfaction that comes from completing a DIY project, knowing you’ve improved your home with your own hands!
 Add Row
  Add
Add 


Write A Comment